Time
90 min
Serving
10 persons
Calories
0
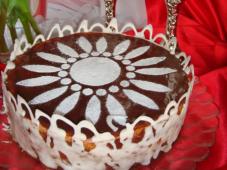
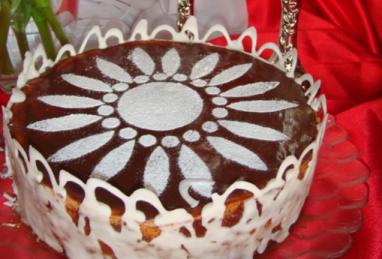
This “Snickers” cake is so delicious that it is enjoyed both by the adults and children. The cake is easy to cook and contains simple but affordable ingredients.
Ingredients
- egg: 4 piece
- sugar: 1 cup
- baking powder: 1 tsp
- whole-wheat flour: 1 cup
- caramelized milk: 500 ml
- butter: 200 g
- peanuts: 300 g
- crackers: 200 g (preferably, with cream flavor)
Metric Conversion
Stages of cooking
-
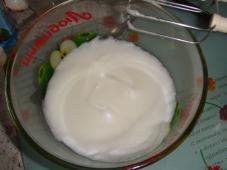
Separate the yolks from the whites. Whip the whites for about 5 minutes
-
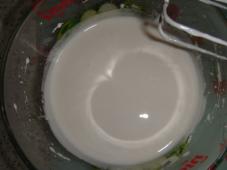
Add sugar and continue whipping for 10 more minutes
-
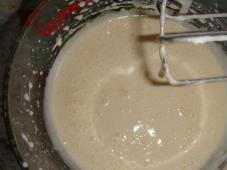
Add the yolks and whip once again
-
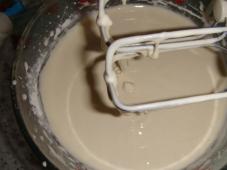
Add baking powder and flour. Mix the ingredients well
-
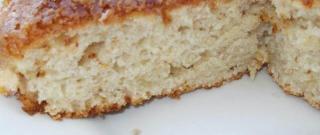
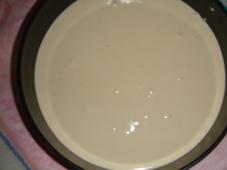
Pour the batter into the loose-base cake tin covered with baking paper. Bake in the pre-heated to 180 degrees oven for about 40-50 minutes
-
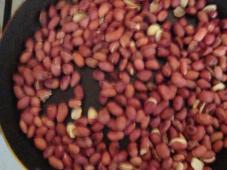
Dry the peanuts on the frying pan without adding oil. Peel the peanuts after they cool down a bit
-
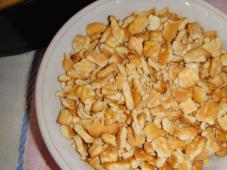
Break the crackers into small pieces
-
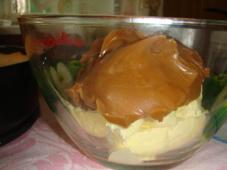
Whip caramelized milk with butter. Add peanuts and crackers. Mix everything well
-
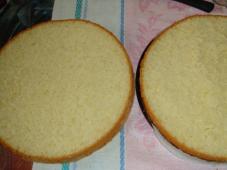
Wait until the sponge cake cools down a bit and cut it into 2 parts
-
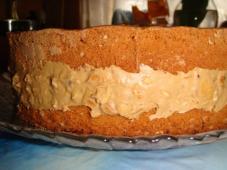
Cover the first part with the cream you have just cooked. Then put the second part of the cake above the first one
-
Put the “Snickers” cake into the fridge. Decorate it to your liking! Enjoy!
