Category
Snacks RecipesBaking recipesRolls RecipesHot Dishes RecipesMeat Course RecipesGrill RecipesChicken RecipesStuffing recipesAppetizers RecipesRoll up RecipesMeat appetizerTime
60 min
Serving
2 persons
Calories
0
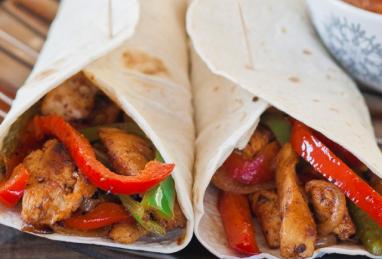
Are you encouraged to cook traditional chicken fajitas? If so, then this recipe will certainly appeal to you! Follow its steps and enjoy the result!
Ingredients
- butter: 3 Tbsp
- Worcestershire sauce: 0.25 cup (up to 0.5 cup)
- bell pepper: 1 piece (green or red, sliced into circles)
- onion: 1 piece (sliced into circles)
- chicken breasts: 500 g
- lemon: 2 piece
- lime: 2 piece
- beans: 1 can (or 300 g of rice)
- sour cream: 2 Tbsp
- hard cheese: 100 g (grated)
Metric Conversion
Stages of cooking
-
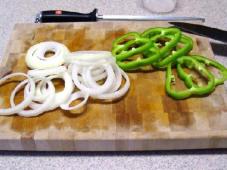
Cut the onion and pepper into the rings. Add the sauce and then let them simmer for about 3 or 4 minutes.
-
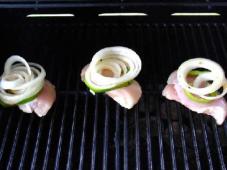
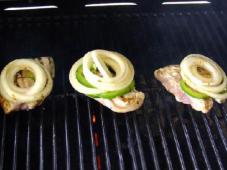
Fire up the grill, wash and dry chicken breasts. Put them with the layers of onion and pepper as it is shown on the photo. Set the burners to low regime and cook the breasts with vegetables for about 10 minutes.
-
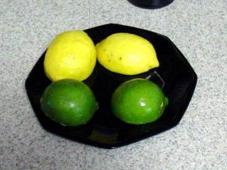
Slice one lemon and lime into halves. Squeeze one half of a lemon and that of a lime over the chicken breasts, while they are still on the grill.
-
The breasts should be ready in 30-40 minutes. Let them rest for about 3-5 minutes before slicing them.
-
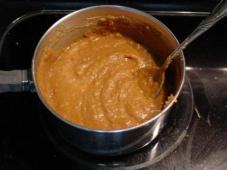
Cook the re-fried beans or rice according to the instructions specified on a packaged. Add it to the filling later.
-
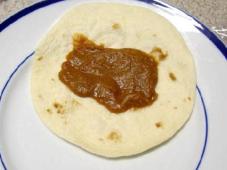
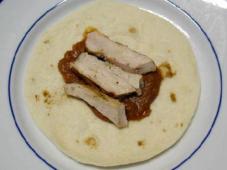
And finally here is how you build the perfect fajita. First you start with the tortillas. Spoon a layer of re-fried beans.
-
Then, add the grilled chicken.
-
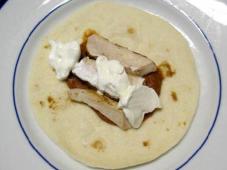
Right after that, add sour cream
-
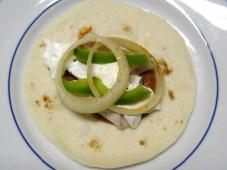
The next step is adding onion rings and pepper
-
Top the filling with grated cheese.

-
And here is the finished product! Serve warm and enjoy its original taste!


